Personnel Records Setup Guide
Considerations Prior to Setup
Make sure the controller is online, initialized, and configured. You must set up your time schedules and access levels PRIOR to managing your personnel records. This tutorial will assist you in adding and managing personnel records using Symphony AC and Aero controllers. Managing personnel records should be completed by utilizing the same steps, regardless of the type of controller that is used.
Symphony AC Personnel Records Setup
- Launch Symphony AC to begin.
- Click on Access>Personnel Manager

Add a new Personnel record
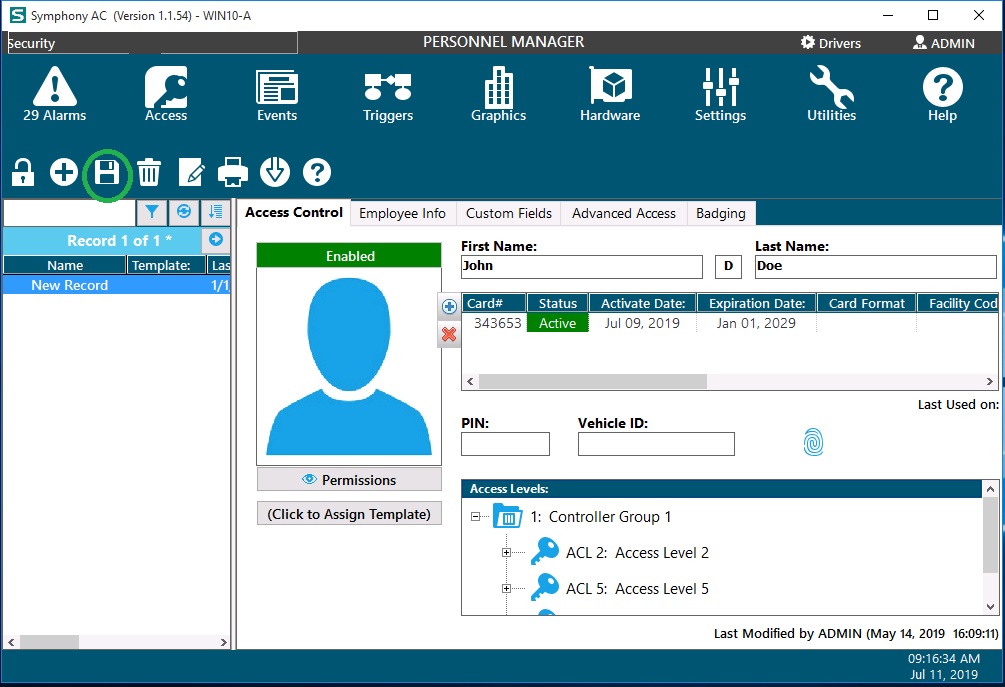
- Ensure that you unlock the module to enable editing (i.e. click the lock on the top left of the screen).
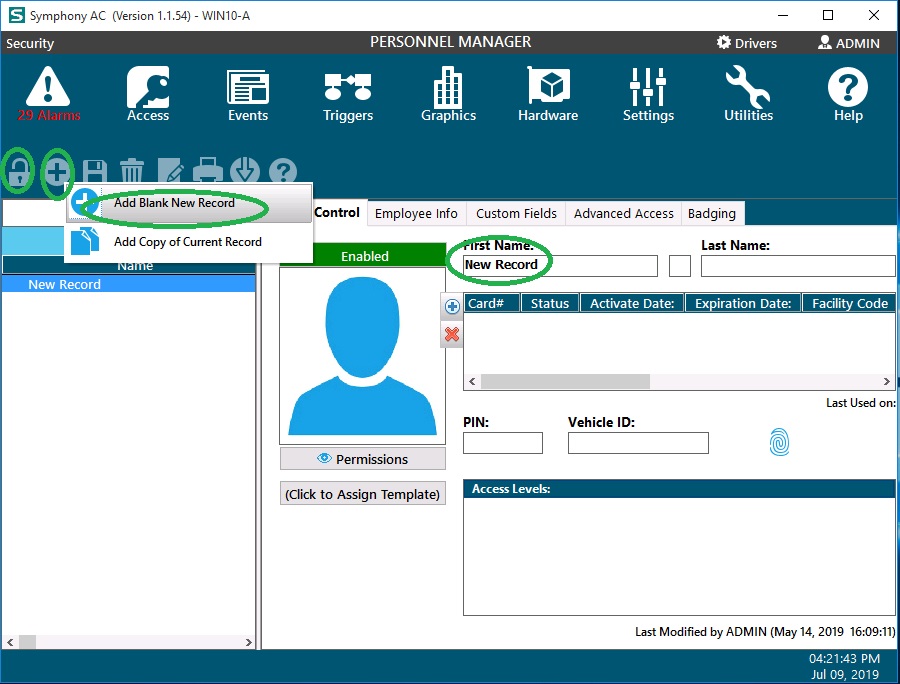
- Click the Add New command (the “+” icon) to access a drop down menu. Select “Add Blank New Record” to add a new record. A 'New Record' will appear under the 'Name' box on the left.
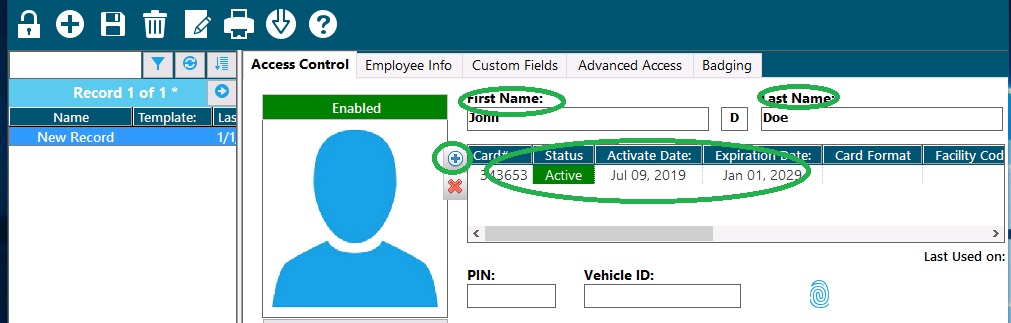
- Enter a First Name and Last Name. Click the plus (+) icon to add a card number. Enter the card #, then specify a Status, Activate Date, and Expiration Date. (You can leave the rest of the columns blank, unless you are utilizing HID controllers, you will need to specify a card format under the Card Format column
- If keypads readers are being used in the field, enter a PIN number in the PIN field.
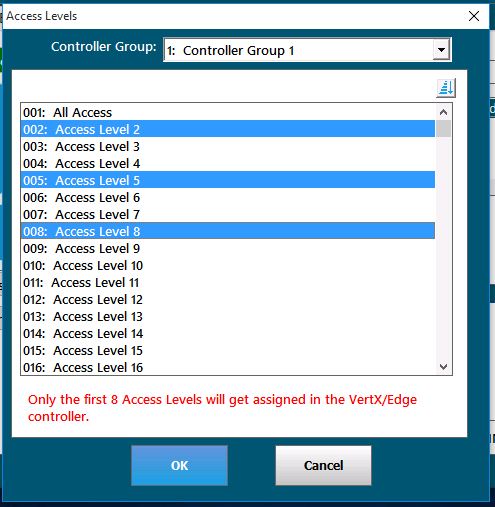
- Right click in the “Access Levels” window to view the popup menu. Select “Add Access Level(s).”

- Select the appropriate Controller Group and Access Level and click the “OK” button. Note: more than one Access Level can be selected. Click once to add an Access Level and click again to remove that same access level.
- Click the Save diskette icon. Changes to a single Personnel record will automatically download to the affected controller(s). Note: If an access level is NOT assigned to the record, then no download will take place for that record. Additionally, if no Card Number or PIN assignment is given to the personnel record, then the person will NOT have access to any readers in the system.