Driver and Driver Status Screen Properties
From Hardware Manager. unlock the pad lock to allow editing of the screen.
The Driver Properties and the Driver Status Screen will display once the Driver is selected.
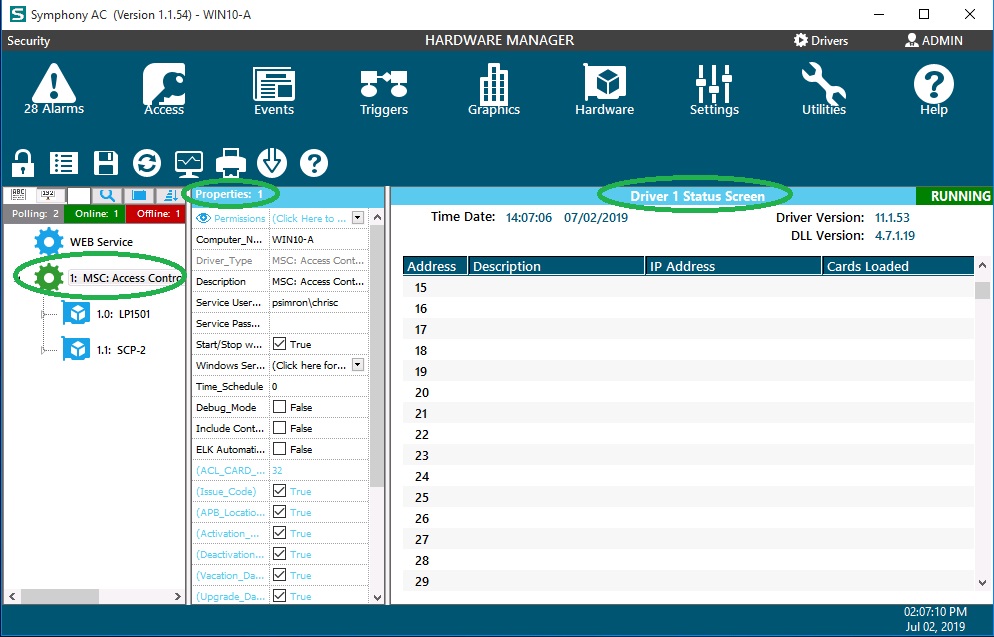
Driver Properties, explained:
- Permissions: Click on the drop down arrow to the right of the Permissions tag to assign what profiles have the ability to see the hardware located beneath the driver. Click "Cascade Settings to Child Nodes" box to allow access to all hardware nodes located beneath the driver. Click in the box(es) to the left of the desired profiles. Click the Green check mark to save changes.
Note: By default the Permissions option is hidden by profile. To view these options go to Settings, Profile Editor and highlight Hardware Manager from the list on the left. From the column on the right place a check mark in the “Display Profile Assignments” box setting the option to a value of true.
- Computer Name: Click in the text box to the right of the Computer Name tag to enter the Computer Name in which the driver will run on. This property will automatically be assigned when a driver has been added. If the driver changes from one machine to another due to computer failure or a move the Access Control Software the Computer Name will need to be changed in order for the driver to start properly.
- Driver_Type: This value will be automatically populated based on the type of driver selected when adding a new driver. This value cannot be modified.
- Description: Click in the text field to the right of the Description tag to enter a description of the driver. This description will be displayed throughout the software. For example: Corporate office building EPC driver.
- Service UserName: Click in the text box to the right of the Service UserName tag and enter the user name for the Local System Administrator. If a general Administrator account is used please ensure this is the user account that was signed in during the installation of the Access Control Security application.
Note: This user must have the ability to start a Windows Service. As of software revision 8.6.98 all drivers will automatically be configured to run as a Windows Service. Improper configuration of the service accounts will cause the drivers to not start.
- Service Password: Click in the text box to the right of the Service Password tag to enter the Password for the Service UserName account.
- Stop when App Closes: This feature will determine how the services function when the Access Control Security Application is closed. If the services should continue to run in the event the application has been closed, deselect the check box setting the value to false. If the services should stop when the application is closed, click the check box setting the value to true.
Note: If the "Stop when App Closes" check box is set to a value of false and an upgrade is to occur, the services will need to be manually stopped before the upgrade will complete successfully.
- Windows Services Manager: Click on the drop down arrow to the right of the Windows Services Manager tag, this option will automatically take the operator to the Windows Service Manager.
- Time_Schedule: Click on the drop down arrow to the right of the Time_Schedule tag to select a time schedule to automatically stop the driver. This option will stop communication to the driver.
- Max_Time_Schedule: This value is set to a hard limit of 100 Time Schedules and cannot be modified.
- Max_Holidays: This value is set to a hard limit of 100 Holidays and cannot be modified.
- Max_Controllers: This value is set to a hard limit of 256 for Aero, Onity, and VertX Controllers, these values cannot be modified.