Assa Abloy- DSR Integration Setup Guide
The following guide provides steps to configure and initialize the Assa Abloy IN120 and Aperio locks in the Symphony AC Software. Use this guide as a quick reference. Please contact Senstar Corporation for questions.
Considerations Prior to Setup
Please ensure that you are using the Assa Abloy IN120 WIFI or Aperio Wireless locks. Requirements:
- Java 8 or later
- Door Service Router 7.0.5.0 installer (filename is usually DSRInstaller7.0.5.0)
Setting Up the Assa Abloy Locks
I. Door Service Router Installation
Note: Ensure that the Assa Abloy locks are powered. Depending on the hardware type utilized at your site, the lock will either be powered by PoE (power over Ethernet) or AA batteries.
- Locate the Door Service Router installation file.
Note: You MUST have version 7.0.5.0.
- Right click on the file and click “Run as Administrator” to start the installation process.
- You will see the introduction in the Door Service Router. Click “Next”. (See Figure 1)
Figure 1 
- Accept the License Agreement. (See Figure 2)
Figure 2 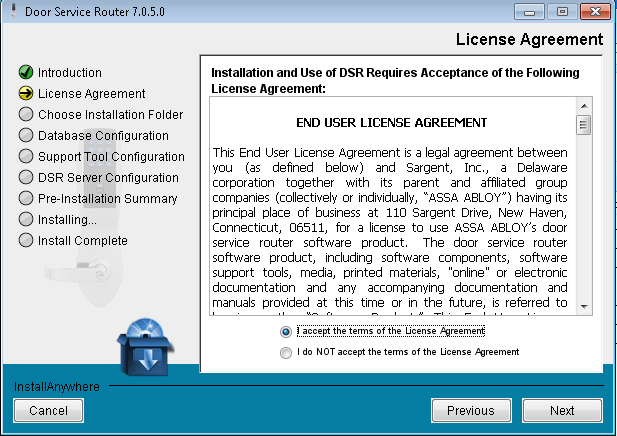
- Choose an installation folder. By default, the installation folder is C:/Program Files/DSR, but if you wish to change the installation folder, click “Choose” and locate the folder to which you wish to install the Door Service Router. Click “Next”. (See Figure 3)
Figure 3 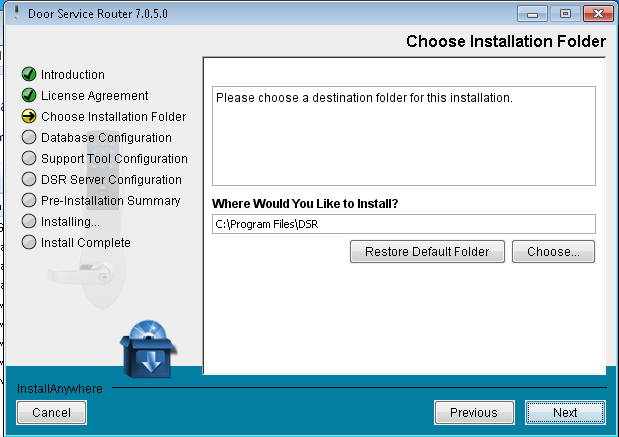
- If you do not have PostgreSQL installed, you will be asked to choose an installation for PostgreSQL installation. Click “Next”. (See Figure 4)
Figure 4 
- Choose a password for PostgreSQL Server. Please note this password, as it will be required later in step 11 in section II. Click “Next”. (See Figure 5)
Figure 5 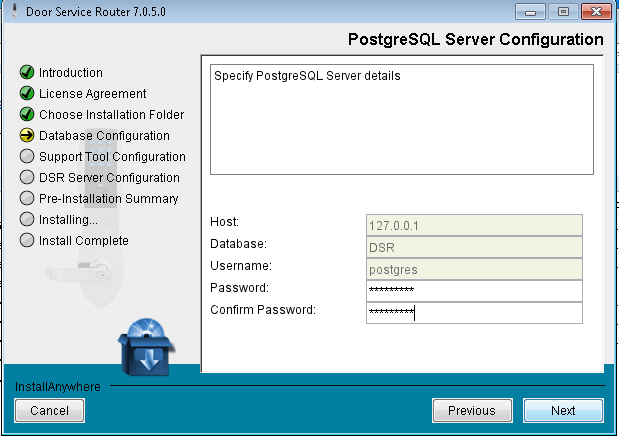
- Choose a password for the Support Tool. Please note this password, as it will be required later in step 13 of this section. Click “Next”. (See Figure 6)
Figure 6 
- Configure the DSR Server Configuration as follows (See Figure 7):
Set a Server Port and note such server port for step 11 in Section II below.
Enable WS-Security: False
Lock AutoConfirm: True
Click “Next”.
Figure 7 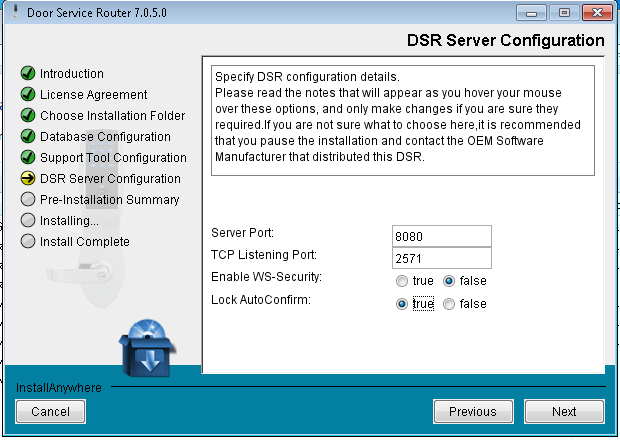
- On the Pre-Installation Summary screen, click “Install”. (See Figure 8)
Figure 8 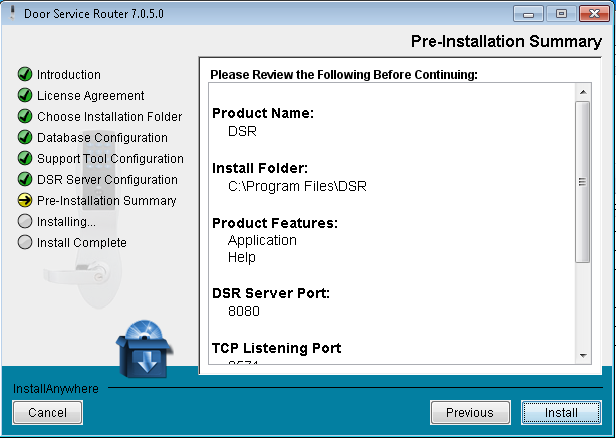
- The DSR should begin installing. (See Figure 9)
Figure 9 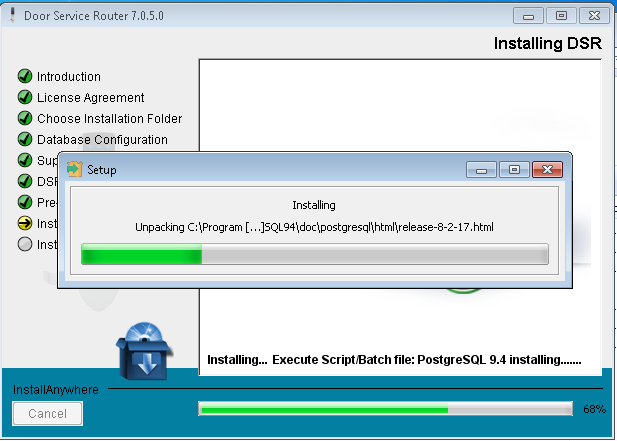
- Once the installation is complete, you will receive the notification below. Click “Done”. (See Figure 10)
Figure 10 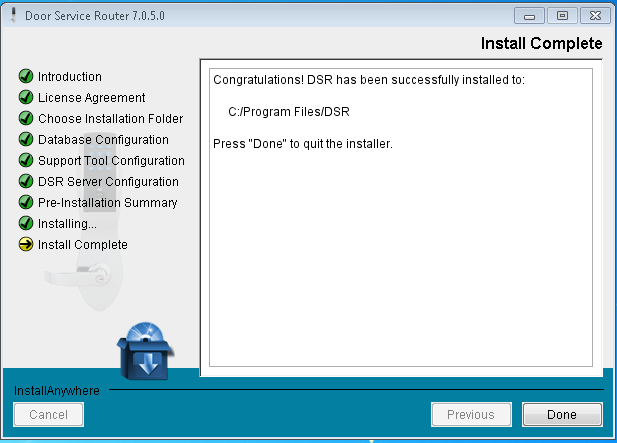
- You will see the Assa Abloy DSR support tool open in a network browser. The DSR status and DSR DB Status should be green in the top right to indicate that they are running. Enter the same password that you set earlier in step 8. (See Figure 11)
Figure 11 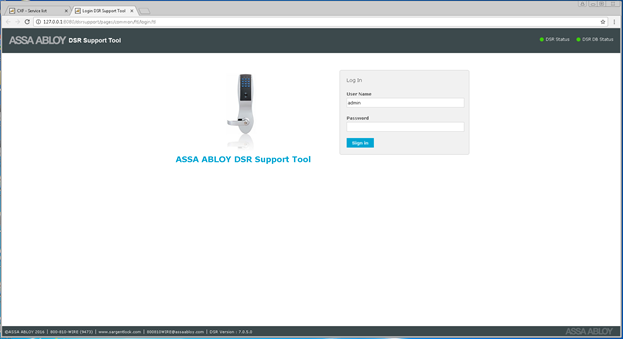
- Locks will be displayed in the lock list as they are configured. (See Figure 12)
Figure 12 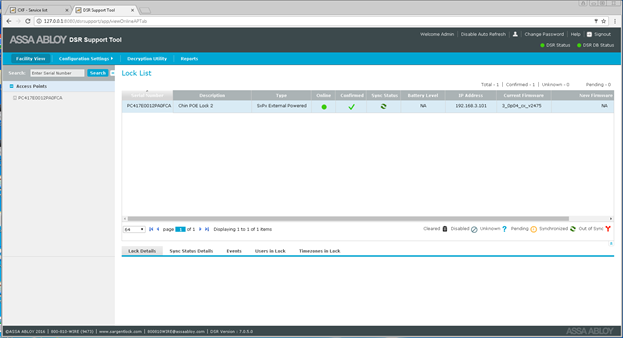
II. Setting Up the Assa Abloy Lock Within Symphony AC
- Launch Symphony AC and navigate to the Hardware Manager module. Unlock the module by clicking the lock in the command toolbar. Right click in the hardware tree and select “Edit” to display the “Add Driver” command from the popup menu. Click on “Add Driver” to view the “Add a New Driver” popup menu.
- From the “New Driver” popup menu, click on the “Access Control Drivers” category. Select the “Assa Abloy Wireless POE Lock” driver. Click the “OK”
- Under the driver’s properties, you will need to set the real-time event port to an open port. Typically, the port used is 9000. Type in the correct port number and click “Save”.
- Edit the registry by opening the Registry Editor (regedit.exe). Navigate to HKEY_LOCAL_MACHINE --> SOFTWARE --> Wow6432Node --> Senstar Corporation --> Symphony AC --> OS. Locate the CardType and FacilityCode keys. If you are unable to locate these keys, proceed to step 5. If you can locate these keys, proceed to step 9.
- If you are unable to locate the FacilityCode key, right click on the blank space and select “New” and select String Value.
- Click on the new key and name it “FacilityCode”. Right click on the “FacilityCode” key and click Modify. Under the value data field, enter the facility code of the cards you are using. In the example below, the code is 133. You may have a different facility code, depending on the cards you use (Note: refer to label on the box of cards or contact your card supplier for your facility code).
- If you are unable to locate the CardType key, right click on the blank space and select “New” and select String Value.
- Click on the new key and name it “CardType”. Right click on the “CardType” key and click Modify. Under the value data field, enter the card format of the cards you are using based on the list below (Note: refer to label on the box of cards or contact your card supplier for your card format). In the example below, the format is H10301 so under the value data field, you would enter Prox_H10301.
List of value data for card formats: Corporate_1000 Dallas HID_Proprietary_33_bit HID_Proprietary_34_bit Magstripe Magstripe_Track_2 Mifare_1K Mifare_4K Mifare_Desfire Mifare_Ultralight PIN PROX_H10301 PROX_H10302 PROX_H10304 PROX_Raw SID_0_CID_32 SID_0_CID_64 SID_32_CID_32 Solid_Dallas
- Select the Assa Abloy driver from the hardware tree and right click on it to bring up the popup menu. Select “Edit” and then “Add Controller.”
- Assa Abloy controllers MUST BE ADDED manually using the manual setup. Ensure that the controller type is “Assa Abloy DSR” and select the Controller Address from the drop down menu. Select a Controller Group from the drop down menu.
a. Click the “OK” button below to continue.
- Ensure that the module is unlocked. In the controller’s properties, enter the IP address. Enter the password that you previously set for the support tool configuration in step 8 in section I. Under TCP Port, enter the TCP Port that matches the server port set before in step 9 in Section I.
- Click Save. Start the driver by right clicking on the Assa Abloy driver, select “Driver Commands”, and click “Start Driver". You may have to enter account credentials to run the service (i.e. the credentials you set in step 7 in section I).
- Once the driver is online, you will see a green box showing “ABY” in the Information Window in the top right of the application. The Driver status screen should display “Running” in a green box along with the Time Date, the Driver Version, and the DLL version.
- The locks will auto populate and you will see the locks under the controller.
- The status screen will also show the locks.