|
Article Type:
|
How To
|
|
Product:
|
Symphony
|
|
Product Version:
|
|
|
Component:
|
Symphony Server
|
|
Device Brands:
|
|
|
Created:
|
24-May-2013 2:29:34 PM
|
|
Last Updated:
|
|
How to Configure Symphony Web Servers for SSL (Windows 8)
Issue: In Windows 8, certmgr.exe imports the Web Server SSL certificate along with its private key in a way that is incompatible with the Windows 8 internal certificate store API. Solution: Import the certificate using the certmgr.msc Microsoft Management Console application, by following these steps: Task 1 - Open a command prompt.
- Execute mmc.exe /a (/a means "authoring mode"). The Microsoft Management Console dialog box opens.
- From the main menu, select File->Add/Remove Snap-in. The Add or Remove Snap-ins dialog box opens.
- From the list of Available snap-ins, select the item named "Certificates."
- Click Add. The Certificate snap-in dialog box opens.
- Select the Computer account option and click Next. The Select Computer dialog box opens.
- Select the Local computer: (the computer the console is running on) option (typically selected by default).
- Click Finish. The Add or Remove snap-ins dialog box returns.
- Click OK. You will see now the local machine's certificate store, starting with the Console Root node.
Task 2 - Under Console Root, click on Certificates. Folders of certifcates appear in the right panel.
- Select the Personal>Certificates sub-node from the tree.
- Verify that no certificate named "*.my_domain_name.local" is shown in the Issued to column.
- If there is one, right-click on it and select Delete and confirm everything.
- Right-click on the middle panel (where certificates are supposed to be listed) somewhere on an empty space and select All Tasks>Import. The Certificate Import Wizard opens.
- Click Next. In the File to Import step, click Browse.
- Change the file filter in the File Open dialog to be Personal Information Exchange (*.pfx;*.p12).
- Navigate to the local path where the certificate is stored. The certificate name should be displayed. Click Open.
- In the Certificate Import Wizard, click Next.
- Leave the Password field blank. Ensure that the Mark Certificate as exportable check box is clear (unchecked).
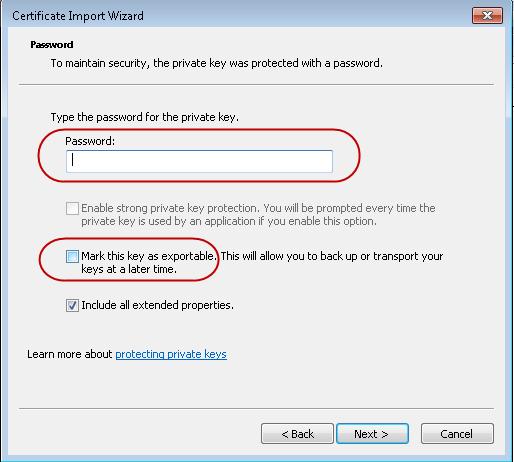 - Click Next.
- Ensure that the certificate will be imported to the Personal Certificate store.
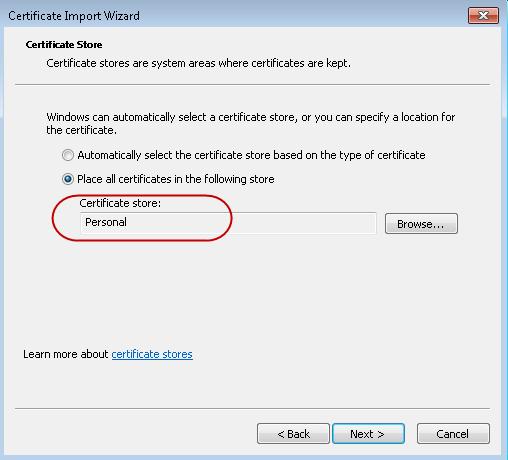 - Click Next.
- Click Finish. A certificate named "*.my_domain_name.local" should now appear in the list. Go back to KB Article 10169.
|
Average rating:
|
|
|
|
Please log in to rate.
|
|
Rated by 0, Viewed by 4962
|
|